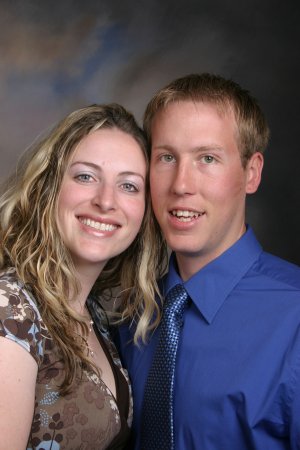
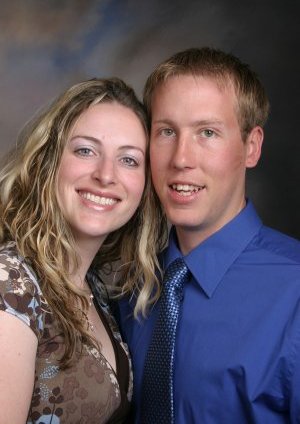
| 7/19 | Received a superb digital image via email from the couple's photographer after they saw the Precision Puzzles Booth at a local Bridal Show. The request is for a 20" x 30" Guest "Signatures" puzzle with 100 pieces. The Wedding is in about 6 weeks. Great Focus, lighting, pose, energy, etc , ..... perfect! |
| 7/20 | The image resolution was very good for a 20x30 enlargement; The supplied digital image was 2048x3072 pixels. It is desirable to keep the resolution at a minimum of 100 pixels per inch on the final printed enlargement. A 20" x 30" print would therefore require 2000 x 3000 pixels in the digital file. I took the resolution up to 150 dpi for the enlargement request, 3000x4500 pixels. I touched up the photo a little and sent it off for enlargement. The composition of the pose makes a 20 x 28 image a good balance, still plenty of area, an average of 5.6 sq in, to write a nice note to the couple. |
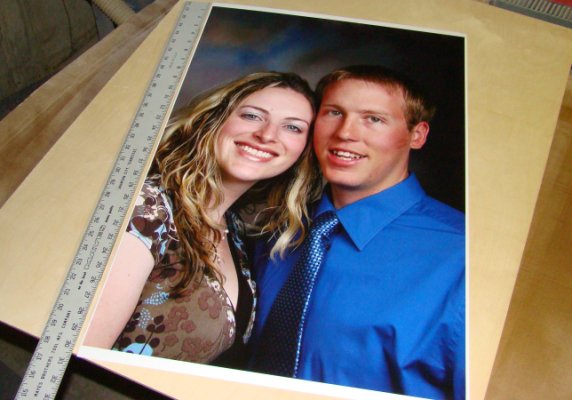
| 7/21 | The photo came back looking absolutely great! The photo and wood are prepared for mounting. The photographic paper is durable, has long lasting inks and works well with the .008" wide saw blade. The photo will be mounted will be sprayed with a few coats of protective finish on top to keep little hands from smudging the puzzle pieces. After drying it's ready to seal the back. |
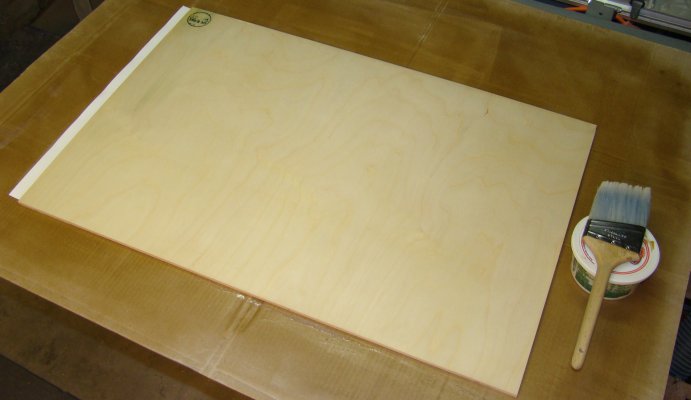
| 7/21 | The photograph is mounted to the sturdy 5 ply birch plywood. The back of the plywood is prepped with a sealer for a long lasting keepsake. This also helps the Blessings and Signatures from bleeding into the wood grain and smearing. After drying, the puzzle is ready for trimming to remove the white border and cutting.
|
| 7/25 | I could spent a few hours in the shop to start the cutting.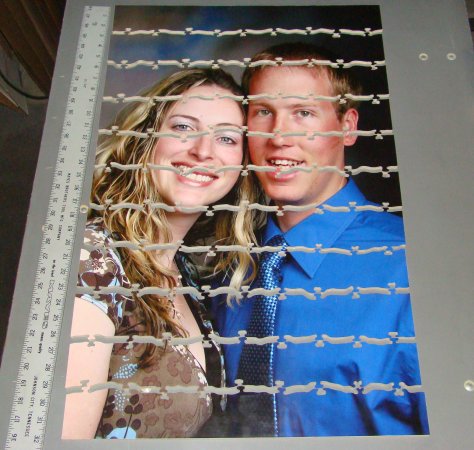 |
| 7/25 | The wood is harder than most 5 ply Baltic birch panels and I am on my 5th saw blade as a result. A close up really shows the clarity of the image and the various shapes of the knobs to help the puzzle solvers at the Wedding Reception. I had to plan a few rows ahead to avoid cutting across the eyes of the couple, which would have been a distraction to the puzzle. 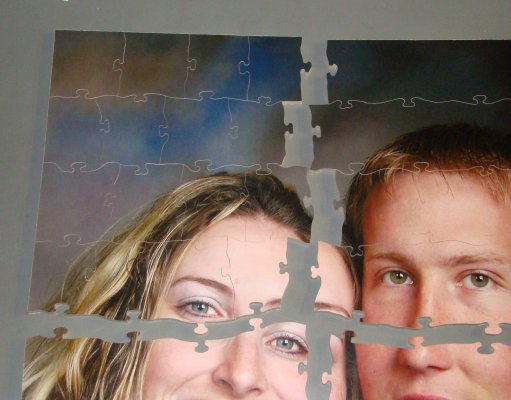 |
| 7/25 | More than half way through the cutting and the smaller sections are easier and faster to handle. I am using an offset on the verticle cuts at this point so that the puzzle holds together morefirmly and it looks nicer. The stamped cardboard puzzle pieces have 4 corners that touch. This puzzle has the pieces where only two corners will touch. 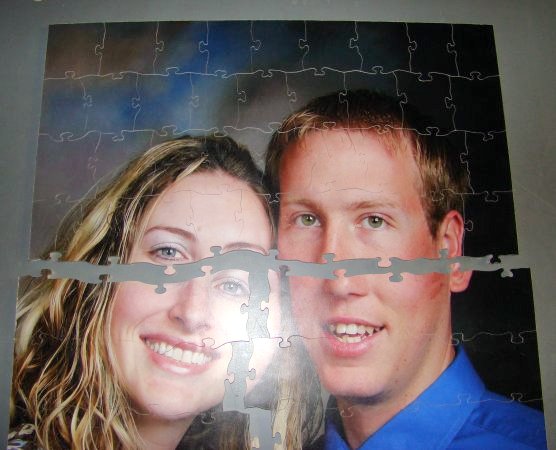 |
| 7/26 | All Done! Everything came out great.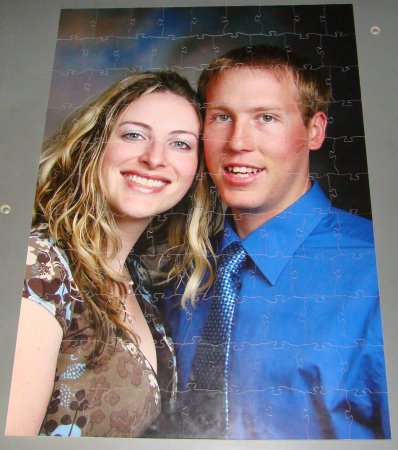 |
| 7/26 | One last closeup of the couple.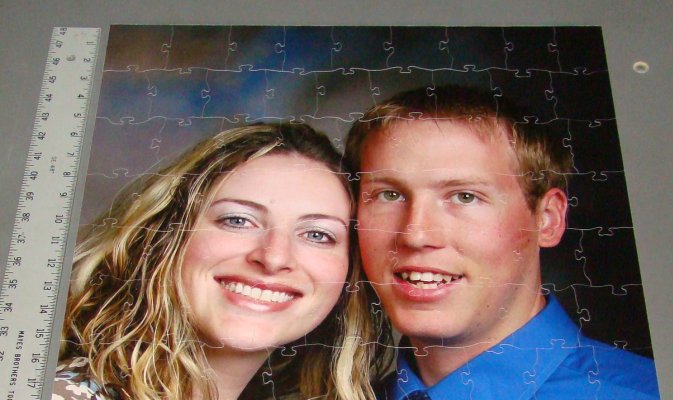 |
| 7/26 | Its hard to make too out much from the lighting other than this is the back of the puzzle. Its easy to flip over by grabbing two corner pieces on the long side, apply a little tension across the first row and lift. Then lay it down gently on the other side. If a couple pieces jostle, just wiggle them back into place. 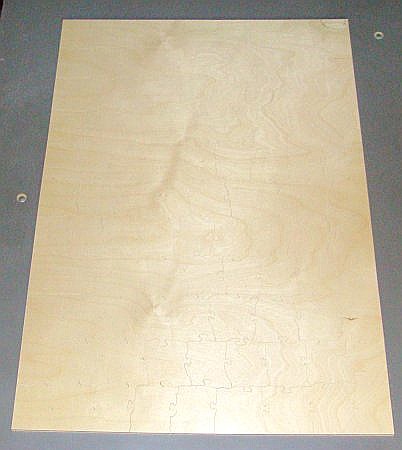 |
| 7/26 | A few teaser pieces and a guide photo if the couple wants to help their guests with the challenge.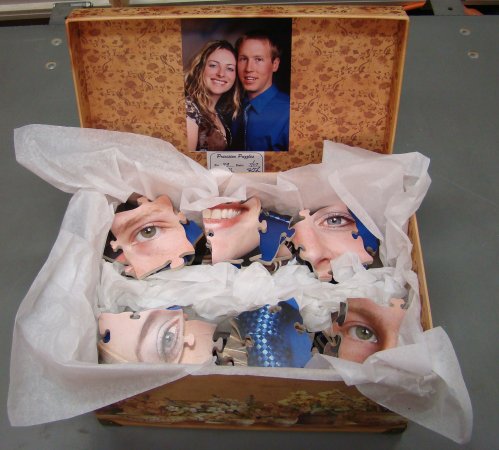 |
| 7/26 | Ready for delivery in the Northwest Suburbs.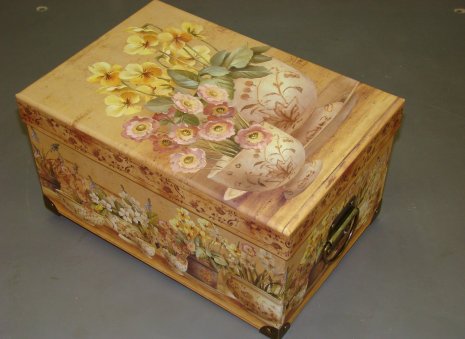 |
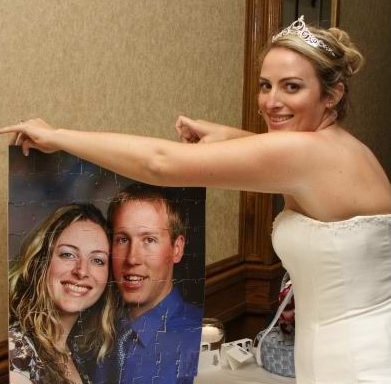
And here is a snap shot at the reception. |
Back to Precision Puzzles Special Occasions Page